


Patchy-looking areas
Add small, directional strokes through visibly sparse sections instead of covering the entire brow or beard.
✅ Creates Natural Hair-Like Strokes
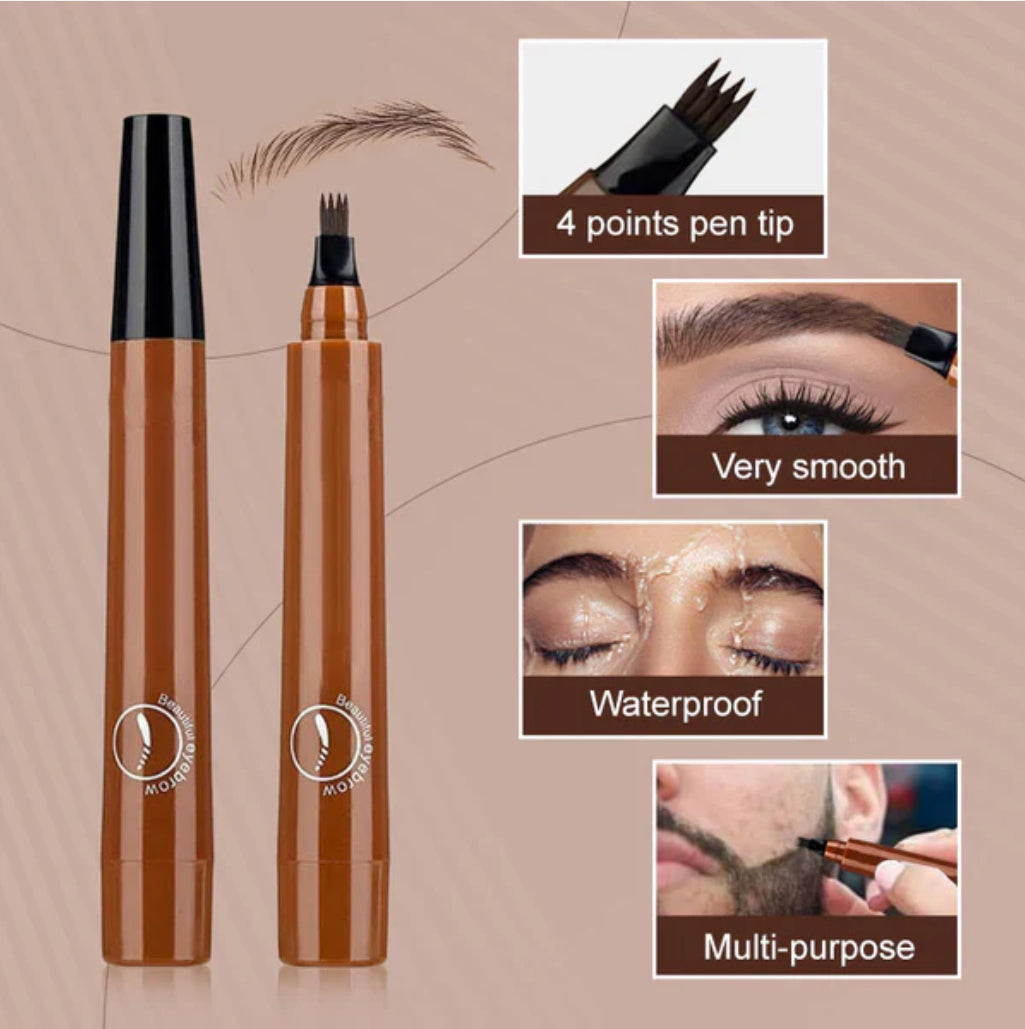
💧 Waterproof & Smudge-Resistant
✍️ Easy-to-Control 4-Tip Design
⏱️ Quick, Effortless Application
🎨 Available in 5 Natural-Looking Shades
✨ Perfect for Brows, Beard & Hairline
🌈 Try It Risk-Free With Our Money-Back Guarantee
Couldn't load pickup availability
Ordered: 1 days ago | Delivered Today, 7:06 PM
Ordered: 3 days ago | Delivered Today, 5:16 PM
Ordered: 2 days ago | Delivered Today, 9:44 PM
Ordered: 4 days ago | Delivered Today, 1:31 PM


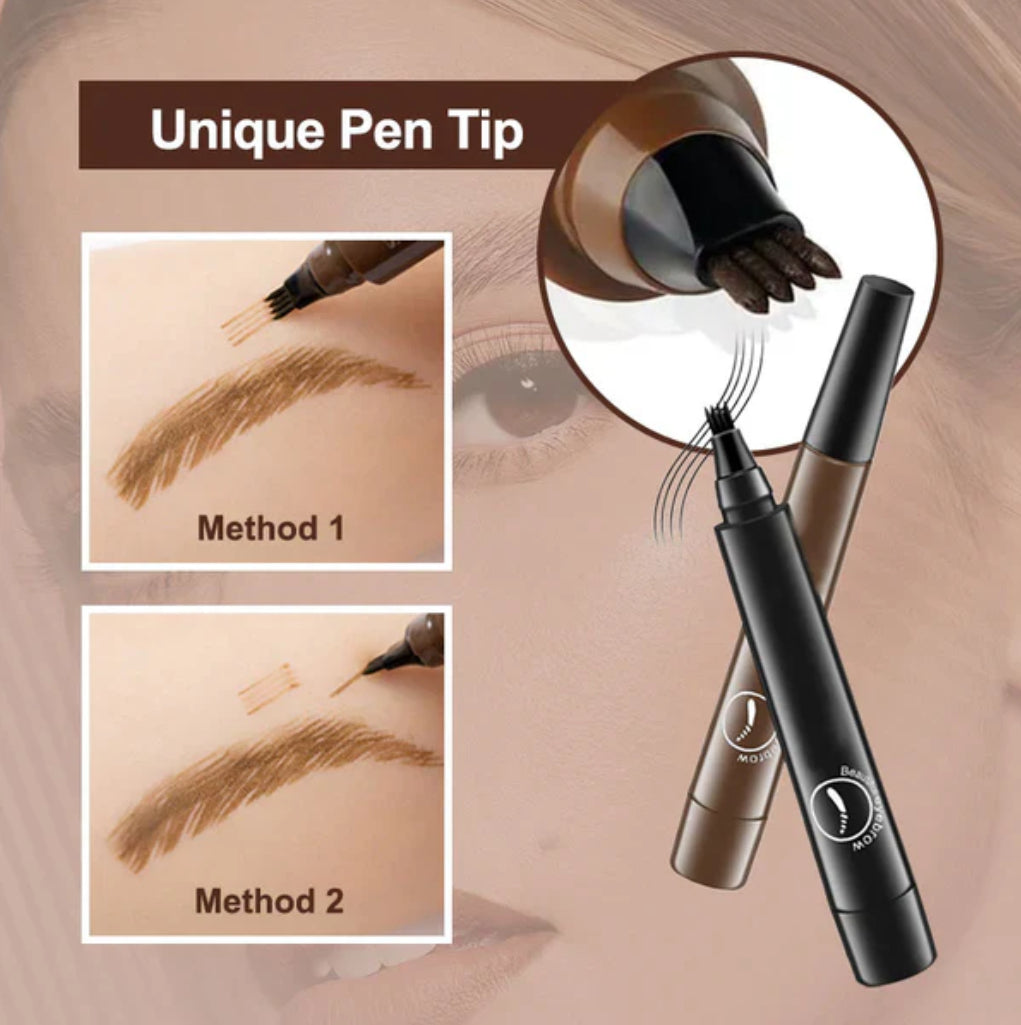
Four-tip precision
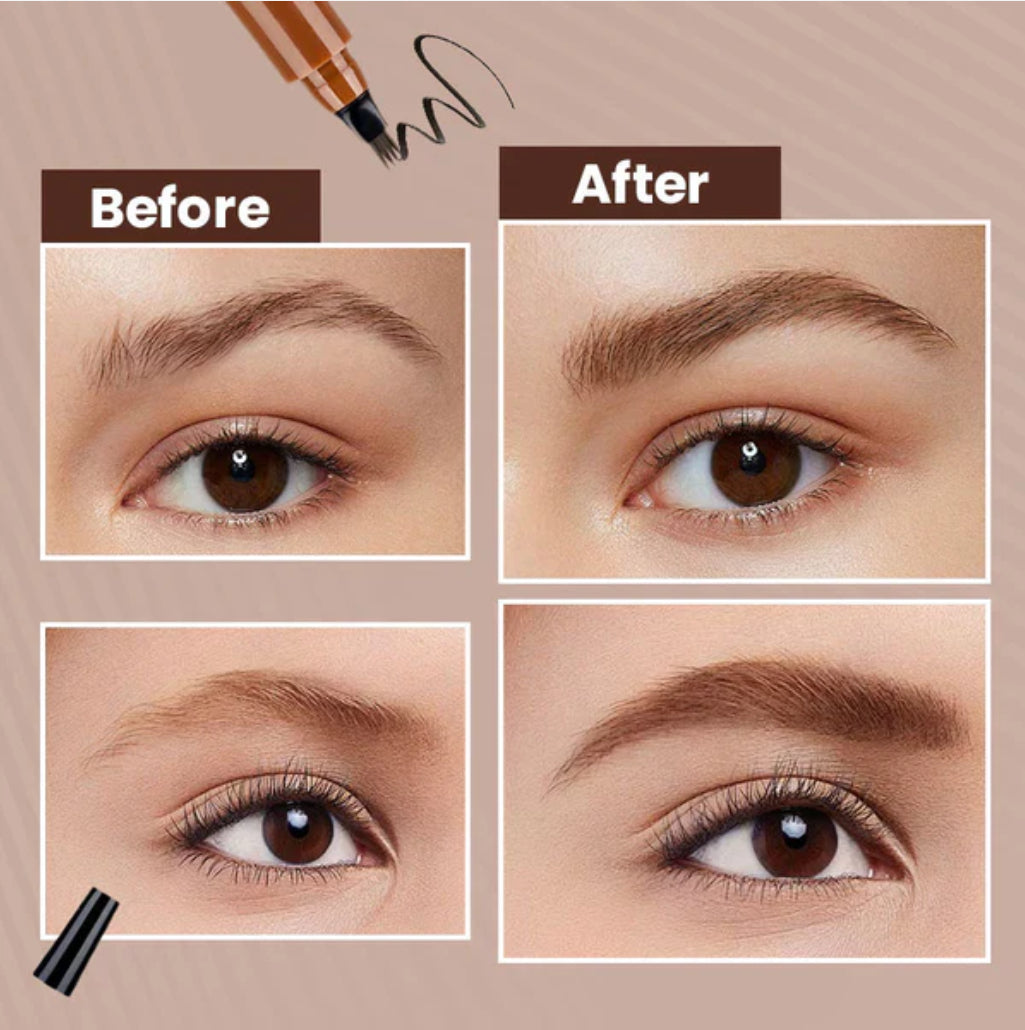
A four-tip detailing pen designed to help fill sparse-looking brows, refine beard lines, and create soft definition without the heavy, painted-on appearance.

Made for subtle correction
Traditional pencils can leave wide, solid lines. The precision tip helps you add detail only where it is needed.
Add small, directional strokes through visibly sparse sections instead of covering the entire brow or beard.
Refine edges, tails, arches, or beard contours with controlled marks that are easy to layer gradually.
The fine-prong format helps avoid a blocky finish when used with a light hand and short flicking motions.

Why the tip matters
Each light flick creates several slim marks at once, helping mimic the direction and spacing of natural hair.
Target small gaps without coloring beyond the desired outline.
Start softly, then repeat the stroke where more depth is needed.
Angle the pen to follow the natural growth pattern of brows or facial hair.
Designed for realistic detail


Everyday-ready design
Let the formula set before touching the area. Once dry, it is designed to resist light moisture and incidental smudging.
Designed for daily wear around light moisture, heat, and humidity after the color has fully set.
Thin, separated marks help create visual texture instead of one flat block of color.
Use fewer strokes for soft definition or add a second pass for more visible depth.
A slim pen format fits easily into a grooming bag, makeup pouch, or everyday carry kit.

One pen, two grooming needs
Use the same controlled flicking technique wherever small hair-like marks can improve the appearance of shape and density.
Fill sparse-looking sections, extend the tail, or softly define the lower edge.
Add visual density around patchy-looking areas and refine cheek or jaw contours.
Use sparingly at small visible gaps around the temple or edge of the hairline.
Simple application
Apply to clean, dry skin. Remove excess oil or skincare residue from the area for better color placement.
Hold the pen at a slight angle and use short, light strokes in the same direction as natural hair growth.
Allow the marks to dry before blending, layering, touching the area, or exposing it to moisture.
Technique at a glance
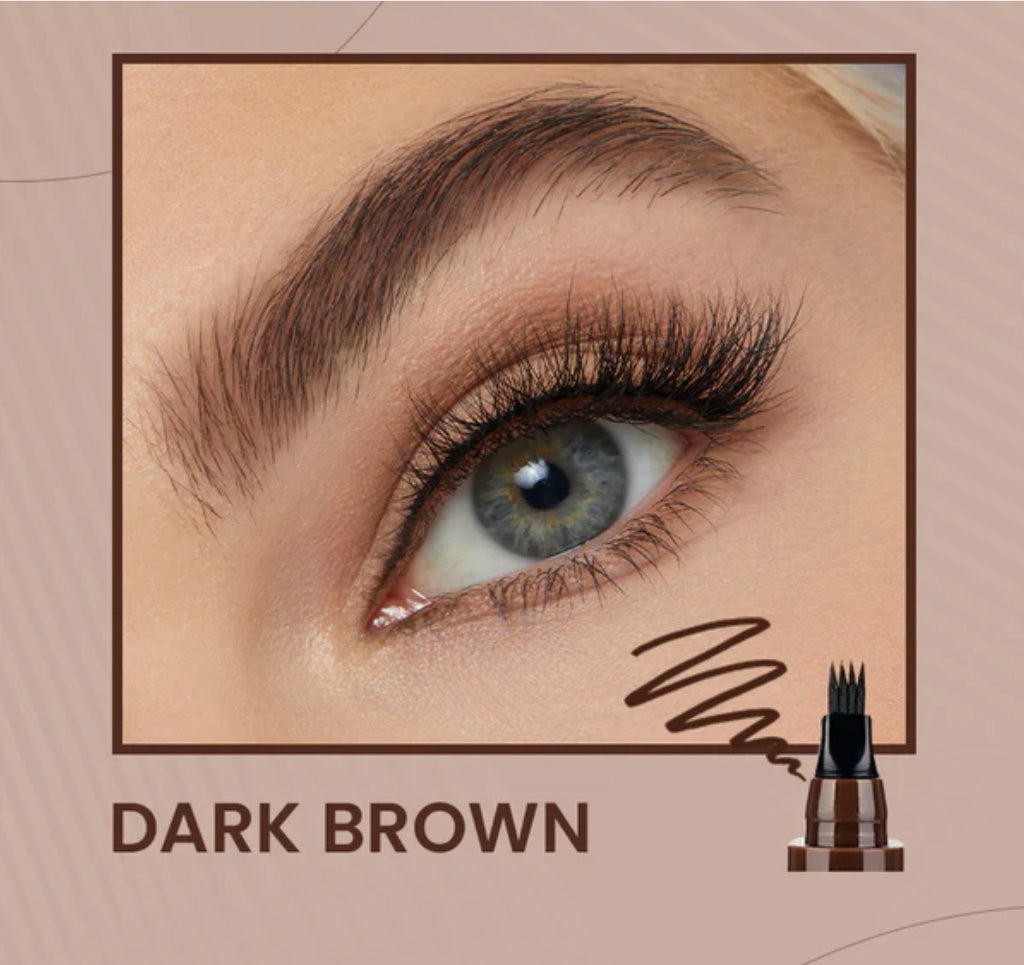
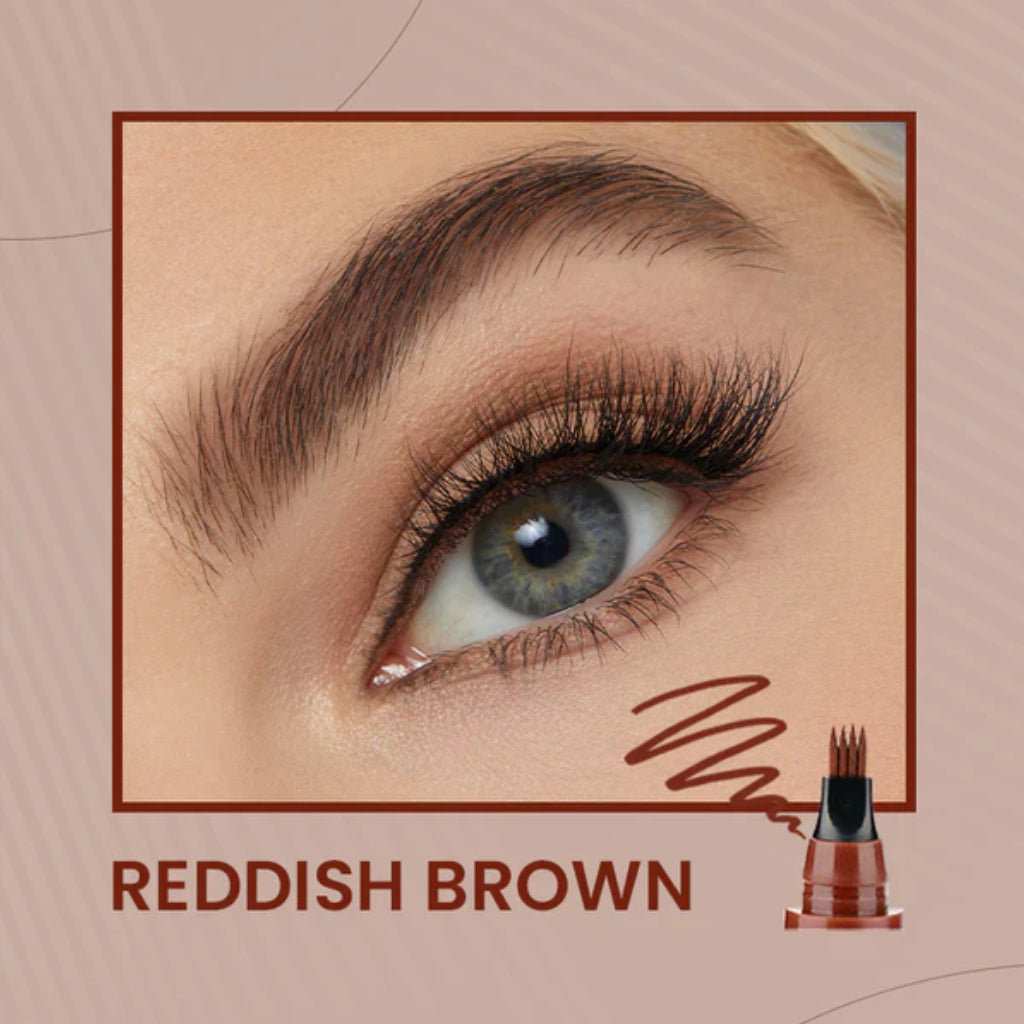
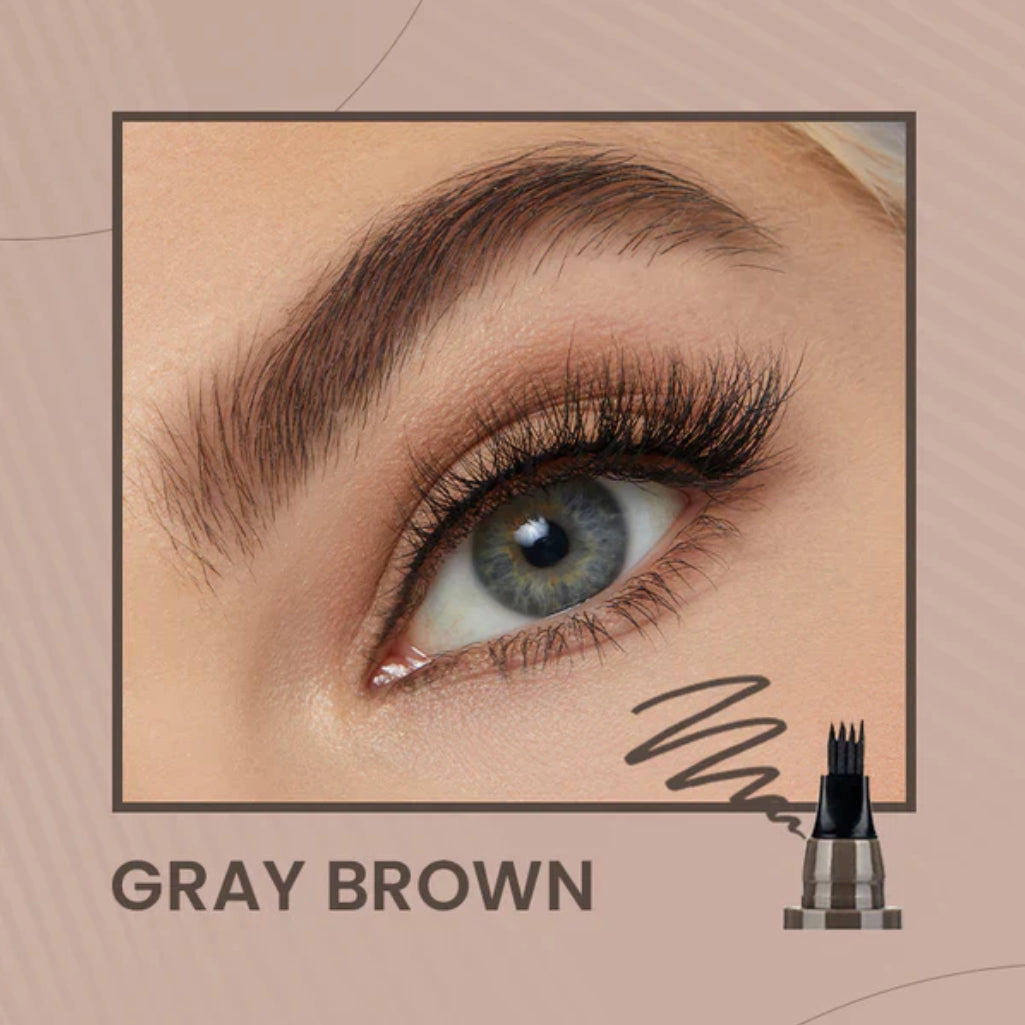
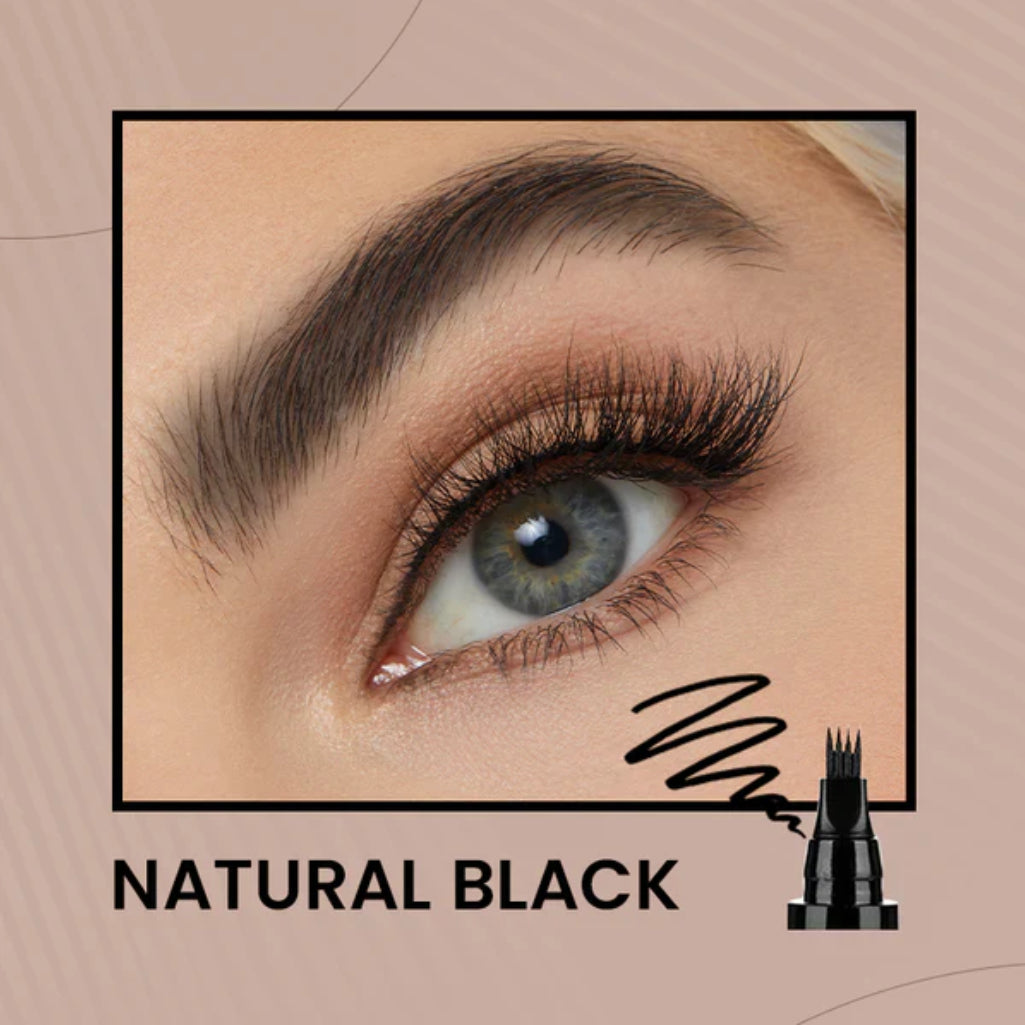
Shade guide
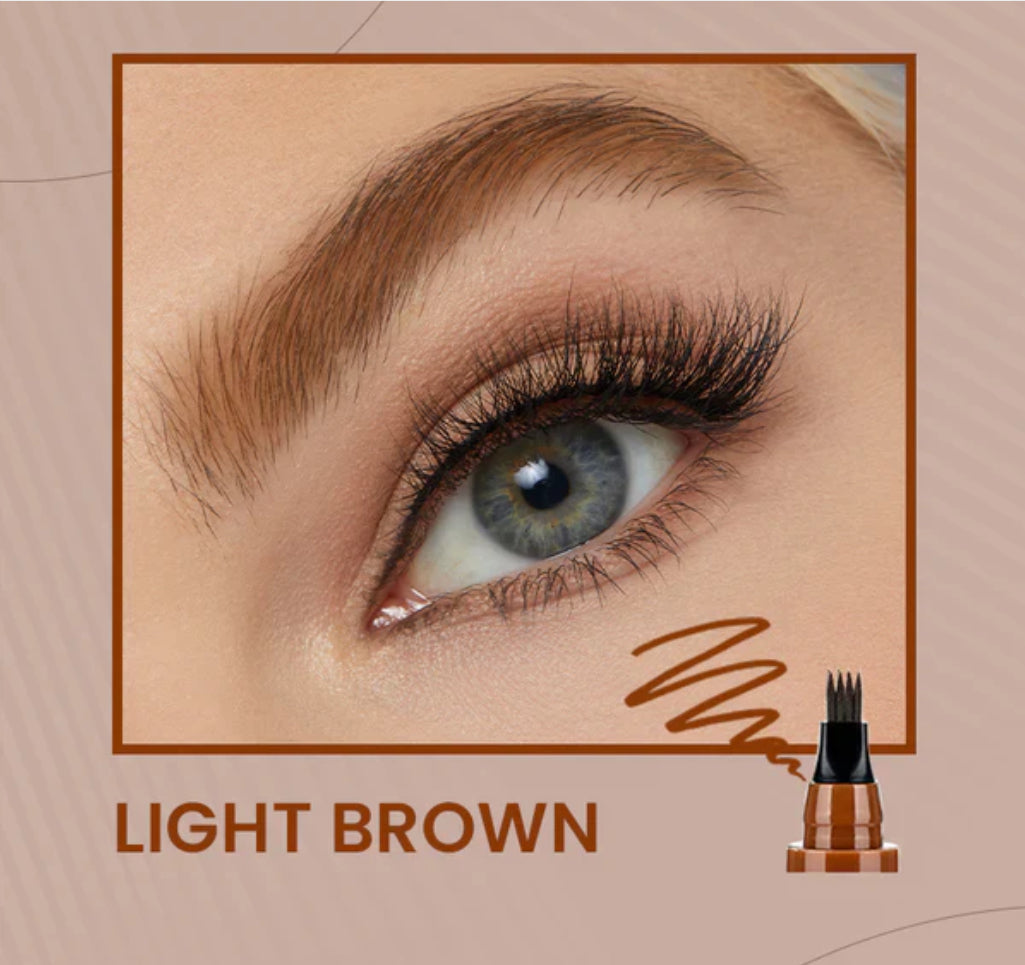
For a softer result, select the closest shade or one level lighter rather than noticeably darker.
A lighter-looking alternative
Product details
Questions, answered